Vector animation looks clean, smooth, and professional. It gives your videos a modern look, and you can scale your drawings to any size without losing quality. Many creators think vector work is difficult, but Alight Motion gives you the tools to design and animate vector shapes with ease.
In this guide, you will learn how to draw vector shapes, edit them, and animate them inside Alight Motion. First, we will create a simple coffee cup. Then we will use the same skills to draw and animate a hand swiping on a smartphone screen. You can follow along step-by-step and create your own project.
What Makes Vector Drawings Special?
Vector drawings use points and curves to create shapes. Each point controls the path of the line. When you move a point, the shape changes. Because vectors do not rely on pixels, your design always stays sharp, even when you zoom in or scale up.
Alight Motion lets you create these shapes inside the app using a set of easy tools like:
- Add Point
- Contour scroller
- Bezier handles
- Stroke and Fill options
These tools help you design anything from simple icons to advanced character animations.
Start with a Simple Coffee Cup Design
You begin with a blank project that has only a background layer. Now add a Vector Drawing Layer. You will see two main tools:
- Control Pad – lets you move the crosshairs
- Contour Scroller – helps you move along the outline of a shape
Move the crosshairs to the first position and tap Add Point. Move again and add another point. Alight Motion connects the points with a line. Add two more points and close the contour to finish the cup shape. You now have the base of the cup.
Go to Color & Fill and choose a color for your cup. Duplicate the layer and change the color of the duplicate. This new layer will act as your accent shape.
Edit Your Vector Shape
Tap the accent layer and choose Edit Points. You will see the points you created earlier. Tap a point or use the Lasso gesture to select more than one. The selected points turn green. Now use the control pad to move the points and create a new look for your cup.
If you want to add extra points to make curves or details, swipe the contour scroller. When the green dot appears between two points, tap Add Point. You can remove mistakes by selecting a point and tapping Delete Point.
After a little work, you now have a clean, polished cup shape with a small highlight.
Add a Curved Lid
Add another vector drawing layer. Place one point on the left corner of the cup, one at the top center, and one on the right corner. Close the contour again.
Tap the top point and switch the point type to one with Bezier handles. Drag these handles to create a smooth curve for the lid. Duplicate this layer too and create an accent shape for the lid.
Add the Straw
Create one more vector layer. Add three points in a straight line to form the straw.
Now go to:
- Border & Shadow, turn on Stroke, and increase the stroke width
- Color & Fill, tap None to remove the fill
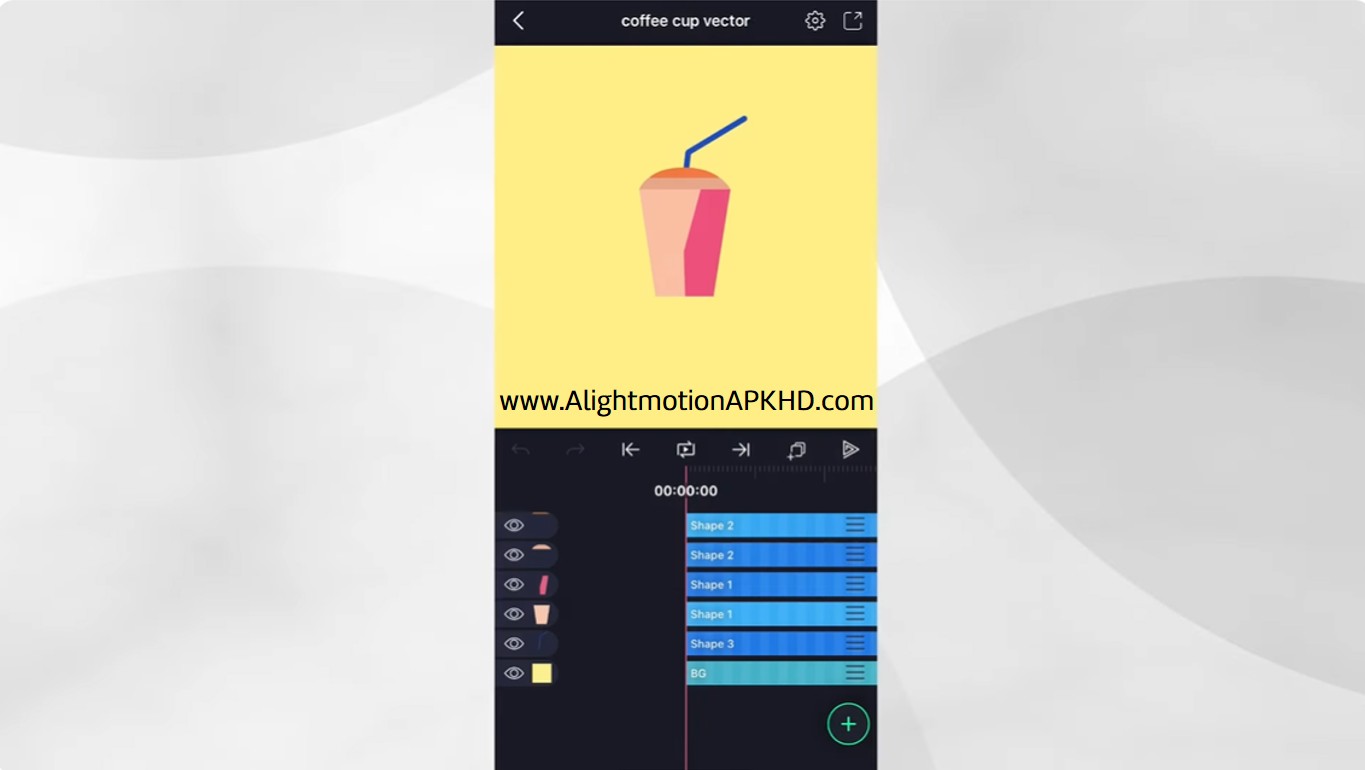
Move the straw behind the cup. You now have a complete vector coffee cup.
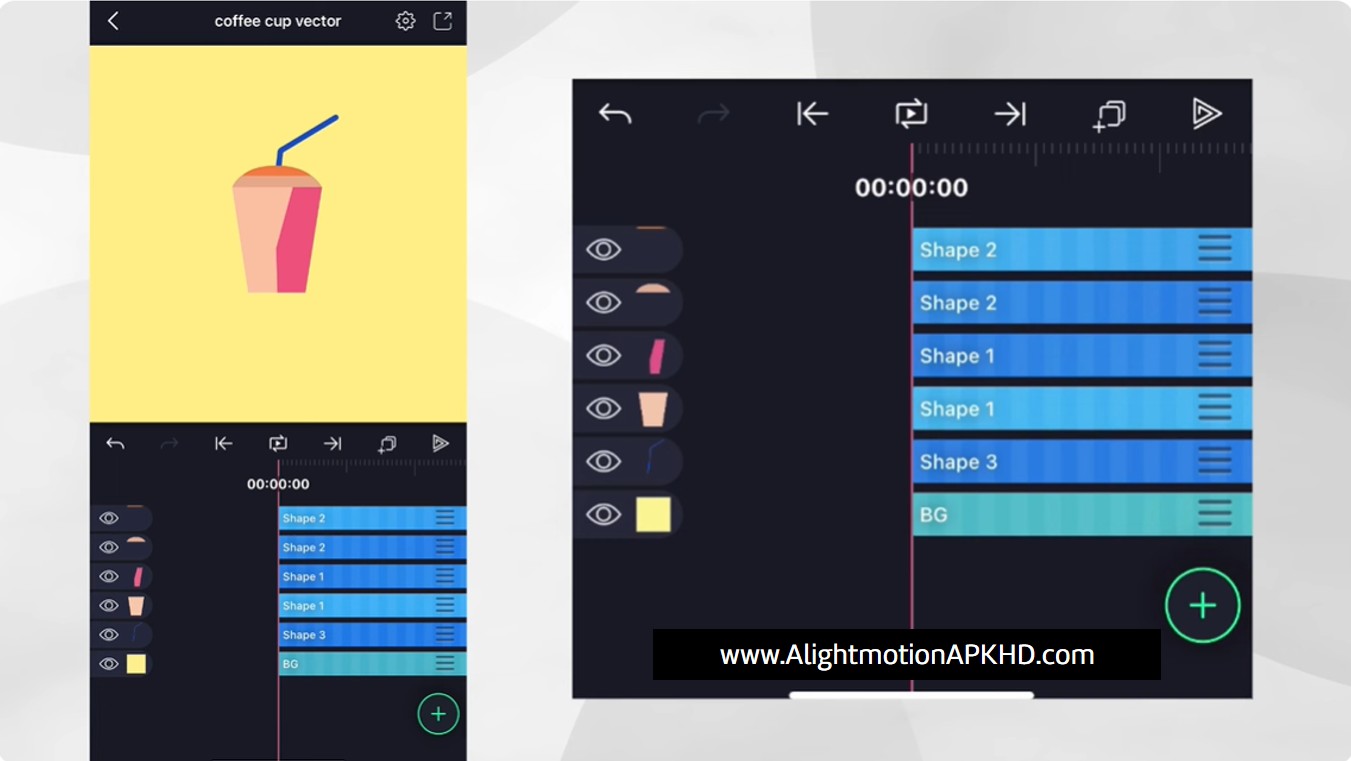
Move to the Main Project Swipe Animation
Now we use the same techniques to create a swiping animation on a smartphone. The project includes a reference image of a hand holding a phone. You will draw the thumb and hand on separate layers, since we need to animate the thumb alone.
Create the thumb using the vector drawing tools. Then create the rest of the hand on another vector layer. Turn on Stroke on the thumb and reduce the stroke width so it stands out clearly.
The project also contains a hidden phone layer. Enable it and place the phone between the thumb and hand layers. Now the hand looks like it holds the phone naturally.
Animate the Thumb Swipe
Tap the thumb layer, select Edit Points, and switch to Keyframe Editing Mode. In this mode, you can animate the movement of the points but you cannot change their shape structure.
Use the Lasso gesture to select every point that forms the thumb. Now tap Add Keyframe. You will see keyframes on the timeline for those points.
Some keyframes also apply to the Bezier handles, so you need to select and add keyframes for those too.
Move the playhead to where the swipe begins and drag the selected thumb points downward using the control pad. Move forward on the timeline and drag the same points upward for the swipe motion. Add another keyframe to hold the thumb at the top position for a moment.
Move further in the timeline and drag the points back down to the resting position. This creates a complete swipe loop.
If the thumb shape does not look right, adjust each point slowly. Alight Motion adds new keyframes automatically every time you make a change.
Add the Screen Content
To make the swipe look real, add the simple elements layer from the project package. Move your playhead to the start of the animation and add a Position Keyframe for the screen element. Move past the end of the swipe and drag the screen elements upward. Add easing for smoother movement.
Now when the thumb swipes up, the screen content also moves up.
Mask the Screen Content
Right now, the content appears outside the phone screen. To fix this, add a Rounded Rectangle and size it to match the screen area. Long-press the rectangle layer, then tap the content layer to select both layers. Tap Group and Mask.
Now your content appears only inside the phone screen.
Your Vector Animation Is Complete
You now have a full vector animation with a hand swiping through a phone interface. You created the shapes, edited the points, added keyframes, animated the thumb, and masked the screen elements to keep everything clean.
Alight Motion gives you powerful vector tools that help you design professional-looking animations right on your device. Try your own ideas, experiment with shapes, and share your creations using the hashtag #AMVectorAnimation.